Home » How to Create a Directory Website in WordPress | wordpress
How to Create a Directory Website in WordPress | wordpress
A directory website is an online platform that allows businesses or individuals to list their products, services, events, or other information. If you’re looking to create a directory website, WordPress is a great option. WordPress is a content management system (CMS) that makes it easy to create and manage a website. Plus, there are plenty of themes and plugins available for WordPress that can be used to create a directory website. In this blog post, we’ll show you how to create a directory website in WordPress.
Table of Contents
How to Create a Directory Website in WordPress
Creating a directory website in WordPress is easy with the right theme and plugin. In this section, we’ll show you how to create a directory website using WordPress.
First, you’ll need to install WordPress on your hosting account. If you don’t have a hosting account yet, we recommend using Bluehost. They’re one of the largest hosting companies in the world and they offer excellent support for WordPress websites. Once you’ve signed up for Bluehost, follow our guide on how to install WordPress on Bluehost.
Once you’ve installed WordPress, the next step is to choose a theme for your directory website. There are plenty of themes available for directory websites. However, we recommend using the GeoDirectory theme. GeoDirectory is the leading directory plugin for WordPress and it integrates seamlessly with the GeoDirectory theme. Plus, the GeoDirectory theme is responsive and includes all the features you need to create a successful directory website.
After you’ve installed the GeoDirectory theme, you’ll need to install the GeoDirectory plugin. The GeoDirectory plugin is what transforms your WordPress site into a fully-featured directory website. Once you’ve installed and activated the plugin, follow our guide on how to set up GeoDirectory.

Once you’ve followed all the steps in our guide, your directory website will be up and running! You can then start adding listings to yourdirectory website. Be sure to include all the relevant information for each listing, such as photos, descriptions, contact information, etc. You can also charge businesses or individuals for listings on yourdirectory website by setting up payments through PayPal or Stripe.
Building a Directory With a Plugin
Building a directory with a plugin is easy with the right theme and plugin. In this section, we’ll show you how to build a directory using WordPress.
First, you’ll need to install WordPress on your hosting account. If you don’t have a hosting account yet, we recommend using Bluehost. They’re one of the largest hosting companies in the world and they offer excellent support for WordPress websites. Once you’ve signed up for Bluehost, follow our guide on how to install WordPress on Bluehost.

Step 1: Install and Activate a WordPress Directory Plugin
Once you’ve installed WordPress, the next step is to choose a theme for your directory website. There are plenty of themes available for directory websites. However, we recommend using the GeoDirectory theme. GeoDirectory is the leading directory plugin for WordPress and it integrates seamlessly with the GeoDirectory theme. Plus, the GeoDirectory theme is responsive and includes all the features you need to create a successful directory website.
After you’ve installed the GeoDirectory theme, you’ll need to install the GeoDirectory plugin. The GeoDirectory plugin is what transforms your WordPress site into a fully-featured directory website. Once you’ve installed and activated the plugin, follow our guide on how to set up GeoDirectory.
Step 2: Configure Your WordPress Directory Plugin
Once you’ve installed the GeoDirectory plugin, you’ll need to configure it to suit your needs. The first thing you’ll need to do is set up the categories for your listings. You can do this by going to Listings -> Categories and adding your listing categories.
After you’ve set up your listing categories, the next step is to add fields to your listings. Fields are the specific details that businesses or individuals can fill out for their listings. For example, a field could be “address” or “phone number”. To add fields to your listings, go to Listings -> Fields and click on the “Add Field” button.
Step 3: Add Listings to Your Directory Website
Once you’ve configured your directory plugin, the next step is to start adding listings. You can do this by going to Listings -> Add New. Fill out all the relevant information for each listing, such as photos, descriptions, contact information, etc. Once you’re done, hit the “Publish” button to publish the listing.
You can also charge businesses or individuals for listings on your directory website by setting up payments through PayPal or Stripe. To do this, go to Listings -> Settings and scroll down to the “Payments” section. Select the payment method you want to use and follow the instructions to set it up.
And that’s it! You now have a fully-featured directory website up and running.
How we can make a Building a Directory Without a Plugin:
If you don’t want to use a plugin to build your directory, you can still do it without one. The first thing you need to do is choose a theme that includes directory features. There are plenty of themes available that include directory features. However, we recommend using the GeoDirectory theme. GeoDirectory is the leading directory plugin for WordPress and it integrates seamlessly with the GeoDirectory theme. Plus, the GeoDirectory theme is responsive and includes all the features you need to create a successful directory website.
Once you’ve chosen your theme, the next step is to start adding listings. You can do this by going to Listings -> Add New. Fill out all the relevant information for each listing, such as photos, descriptions, contact information, etc. Once you’re done, hit the “Publish” button to publish the listing.
You can also charge businesses or individuals for listings on your directory website by setting up payments through PayPal or Stripe. To do this, go to Listings -> Settings and scroll down to the “Payments” section. Select the payment method you want to use and follow the instructions to set it up.
And that’s it! You now have a fully-featured directory website up and running without using a plugin.
How we can Create a WordPress Directory with Formidable Forms
If you want to create a WordPress directory with Formidable Forms, the first thing you need to do is install and activate the Formidable Forms plugin. For more information, see our guide on how to install a WordPress plugin.

Once the plugin is activated, you’ll need to create a form for your listings. To do this, go to Formidable -> Forms and click on the “Add New” button. Give your form a title and start adding fields to it. The fields you’ll need will depend on the type of directory you’re creating. For example, if you’re creating a business directory, you’ll need fields for the business name, address, phone number, etc. Once you’ve added all the fields you need, click on the “Publish” button to publish your form.

Next, you need to create a page to display your listings. To do this, go to Pages -> Add New and give your page a title. In the body of your page, you’ll need to add the shortcode for your form. The shortcode will be displayed at the top of your form when you edit it. Once you’ve added the shortcode, hit the “Publish” button to publish your page.
And that’s it! You now have a fully-featured directory website up and running with Formidable Forms.
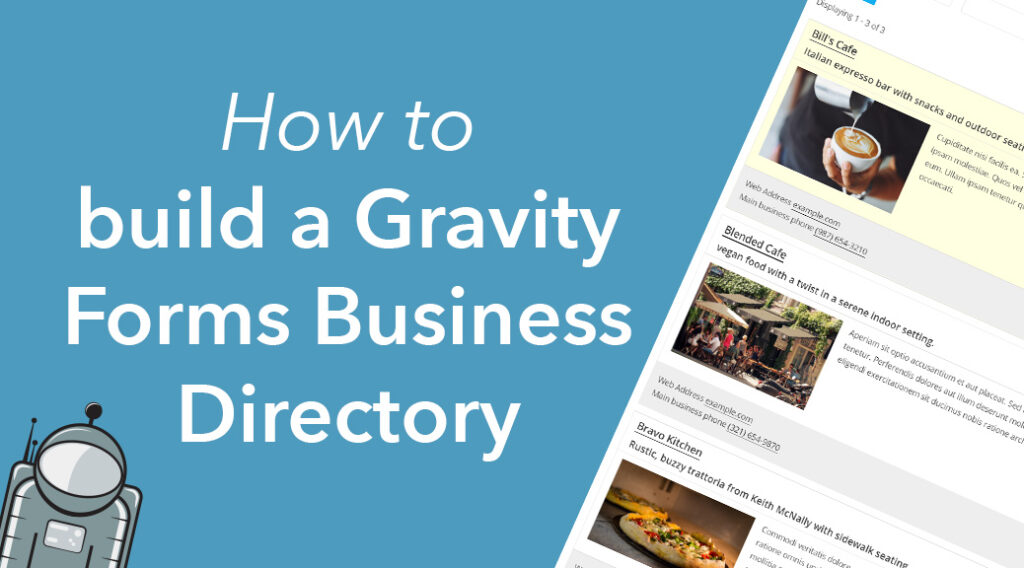
How we can Create a WordPress Directory with Gravity Forms
If you want to create a WordPress directory with Gravity Forms, the first thing you need to do is install and activate the Gravity Forms plugin. For more information, see our guide on how to install a WordPress plugin.

Once the plugin is activated, you’ll need to create a form for your listings. To do this, go to Forms -> New Form and give your form a title. Start adding fields to your form by dragging and dropping them from the left-hand sidebar. The fields you’ll need will depend on the type of directory you’re creating. For example, if you’re creating a business directory, you’ll need fields for the business name, address, phone number, etc. Once you’ve added all the fields you need, click on the “Publish” button to publish your form.
Next, you need to create a page to display your listings. To do this, go to Pages -> Add New and give your page a title. In the body of your page, you’ll need to add the shortcode for your form. The shortcode will be displayed at the top of your form when you edit it. Once you’ve added the shortcode, hit the “Publish” button to publish your page.
And that’s it! You now have a fully-featured directory website up and running with Gravity Forms.
How to Monetize Your Directory Website
There are a few different ways you can monetize your directory website. The most common way is to charge businesses or individuals for listings on your site. To do this, you’ll need to set up payments through PayPal or Stripe.
Another way you can monetize your site is by selling advertising space. You can do this by adding an adsense widget to your site or by signing up for a program like AdThrive.
You can also monetize your site by selling products or services related to the listings on your site. For example, if you have a business directory, you could sell products like marketing materials or business cards.
And that’s it! These are just a few of the ways you can monetize your directory website.
What Type of Directory Website Can You Build?
Now that you know how to create a WordPress directory, the question is: what type of directory can you build?
Here are a few ideas to get you started:
– A business directory
– A restaurant guide
– A real estate listings directory
– A wedding vendor directory
– A sports team directory
– An event listing directory
And that’s just the beginning! There are endless possibilities for the type of directory you can create. So get creative and see what you can come up with.
FAQ
A WordPress directory is a website that allows you to list businesses, individuals, or other organizations.
Some examples of WordPress directories include business directories, restaurant guides, real estate listings directories, wedding vendor directories, sports team directories, and event listing directories.
To create a WordPress directory, you’ll need to install and activate the Formidable Forms plugin. Once the plugin is activated, you’ll need to create a form for your listings. To do this, go to Forms -> New Form and give your form a title. Start adding fields to your form by dragging and dropping them from the left-hand sidebar. The fields you’ll need will depend on the type of directory you’re creating. For example, if you’re creating a business directory, you’ll need fields for the business name, address, phone number, etc. Once you’ve added all the fields you need, click on the “Publish” button to publish your form.
Next, you need to create a page to display your listings. To do this, go to Pages -> Add New and give your page a title. In the body of your page, you’ll need to add the shortcode for your form. The shortcode will be displayed at the top of your form when you edit it. Once you’ve added the shortcode, hit the “Publish” button to publish your page.
And that’s it! You now have a fully-featured directory website up and running with Gravity Forms.
There are a few different ways you can monetize your WordPress directory. The most common way is to charge businesses or individuals for listings on your site. To do this, you’ll need to set up payments through PayPal or Stripe.
Another way you can monetize your site is by selling advertising space. You can do this by adding an adsense widget to your site or by signing up for a program like AdThrive.
You can also monetize your site by selling products or services related to the listings on your site. For example, if you have a business directory, you could sell products like marketing materials or business cards.
And that’s it! These are just a few of the ways you can monetize your WordPress directory.
There are endless possibilities for the type of directory you can create with WordPress. Some ideas include business directories, restaurant guides, real estate listings directories, wedding vendor directories, sports team directories, and event listing directories. Get creative and see what you can come up with!
While there are some themes that allow you to create a directory without a plugin, we recommend using the Formidable Forms plugin. This plugin makes it easy to add listings to your site and gives you complete control over the design and layout of your directory. Plus, it comes with a number of powerful features that make it easy to monetize your site.
If you need help creating your WordPress directory, our team at WPForms can assist you. We offer a number of services, including custom form design, plugin configuration, and complete website development. Contact us today to learn more about our services and how we can help you create a successful WordPress directory.
There are a number of benefits to creating a WordPress directory. First, it’s a great way to monetize your website. You can charge businesses or individuals for listings, sell advertising space, or sell products and services related to the listings on your site.
Another benefit of creating a WordPress directory is that it can help you build an email list. You can use your directory to collect contact information from businesses or individuals who are interested in being listed on your site. This is a great way to grow your email list and keep people coming back to your site.
Finally, creating a WordPress directory can help you increase traffic to your website. As people search for businesses or services
While there are many benefits to creating a WordPress directory, there are also a few potential downsides. First, it can be time-consuming to set up and manage your directory. You’ll need to add listings, moderate submissions, and keep your site up-to-date.
Another downside is that you may need to invest in a paid plugin or theme to get the full features and functionality you need for your directory. However, this cost is typically offset by the fact that you can monetize your site.
Finally, there is always the possibility that your directory will not be successful. This could happen if businesses or individuals don’t want to list on your site or if you don’t get enough traffic to your site. However, as long as you choose a niche that you’re passionate about and put in the effort to promote your site, you should be able to create a successful WordPress directory.
Creating a WordPress directory can be a great way to monetize your website. By charging for listings, selling advertising space, or selling products and services related to the listings on your site, you can generate revenue from your directory. Plus, it’s a great way to build an email list and increase traffic to your website. Just be sure to choose a niche that you’re passionate about and put in the effort to promote your site. With some hard work, you can create a successful WordPress directory.
Conclusion
Creating a directory website in WordPress is easy with the right approach! All you need is a self-hosted copy of WordPress and two plugins: The GeoDirectory plugin and its corresponding theme (we recommend using BlueHost as your web host). Once everything is installed and set up according to our guide, start adding listings and collecting payments from businesses/individuals (if desired). With just a little bit of effort, you can have a beautiful and fully-functionaldirectory site running in no time!
Let me know if you need any help regarding the directory wordpress website?
Need help with your directory WordPress website? I can provide the assistance you need to get your site up and running smoothly. Whether you need help with installation, configuration, or simply troubleshooting, I can help. I have extensive experience with WordPress, and I am familiar with all the most popular directory plugins. I can help you choose the right plugin for your needs and ensure that it is properly configured. I can also help you customize your site to match your specific business requirements. Contact me today and let me know how I can help you with your directory WordPress website.

